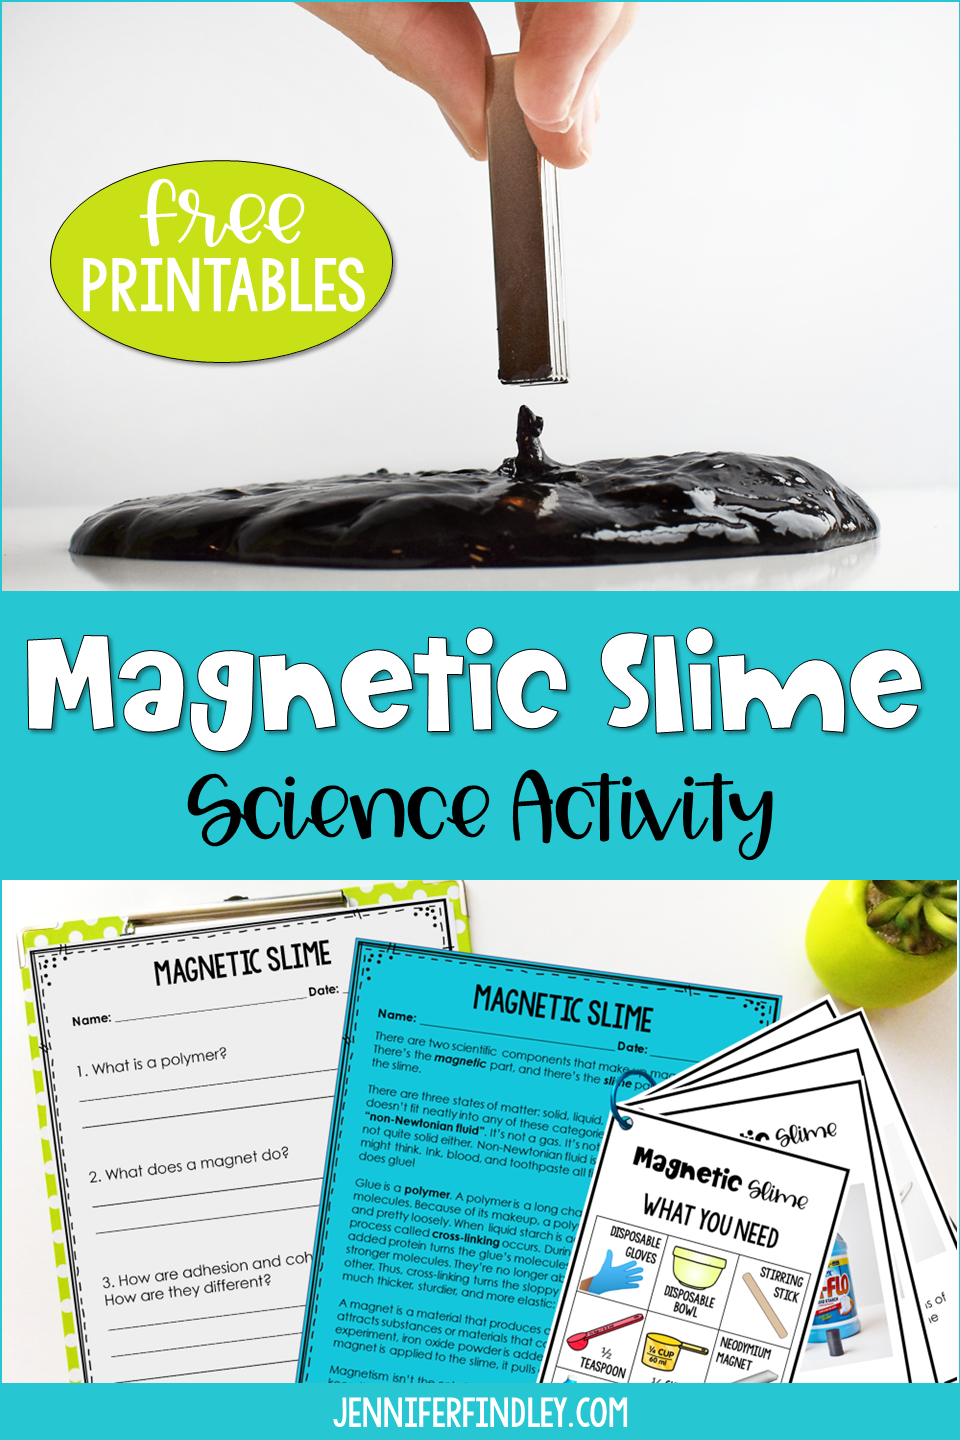
Are you teaching magnets and magnetic properties and want to up your students’ engagement and excitement? Try this magnetic slime science activity! This is a perfect small group science demonstration to engage your students AND enhance their science skills (especially when you use the free reading printable included with this post).
Want to see more science activities and resources?
Magnetic Slime Science Activity Materials Needed:
Disclosure: 2 of the links below are Amazon affiliate links. This means that, at zero cost to you, I will earn an affiliate commission if you click through the link and finalize a purchase.
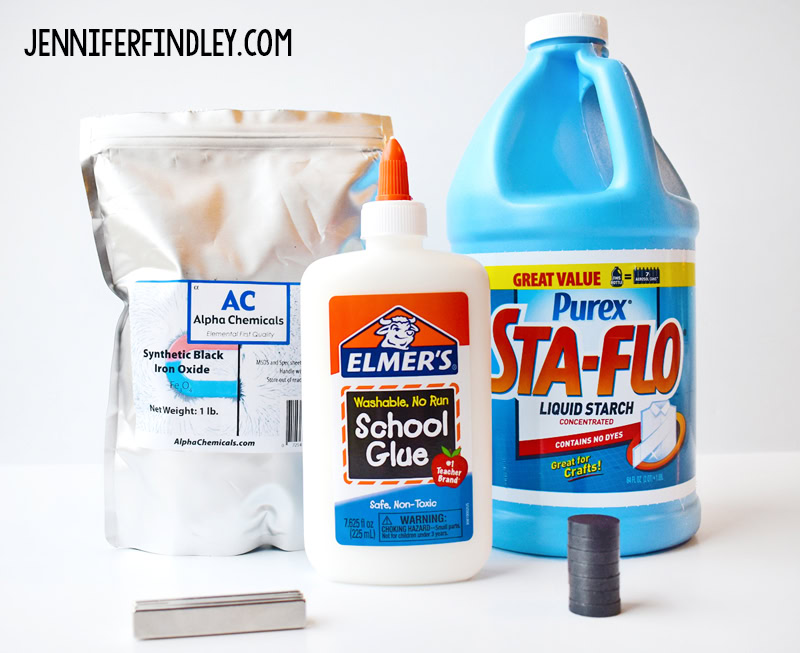
- a bottle of white school glue
- a bottle of liquid starch (this can be found in the laundry aisle at the grocery store)
- black iron oxide powder
- neodymium magnets note: regular magnets will not be strong enough
- a disposable bowl
- a disposable spoon or stirring stick
- ¼ cup measuring cup
- ½ tablespoon measuring spoon
- disposable gloves
- paper towels
Magnetic Slime Science Activity Directions
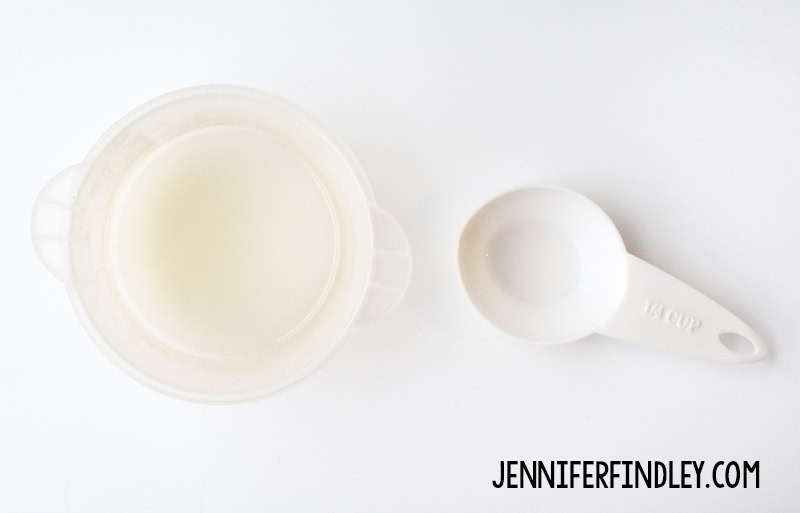
1. Pour ¼ of a cup of liquid starch into your bowl.
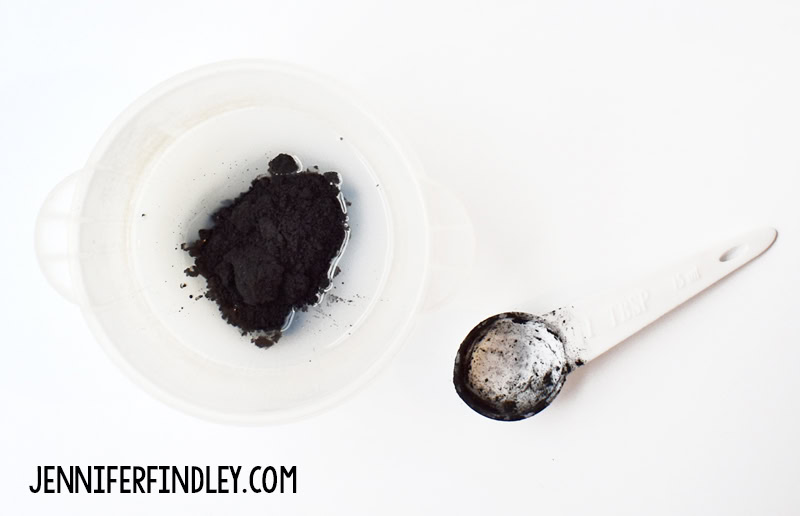
2. Carefully mix four tablespoons of the iron oxide powder into the bowl with the liquid starch.
Note: The powder is harmless, but it is a bit messy if you are not careful. It can smear all over clothes and must be washed off hands with soap and water.
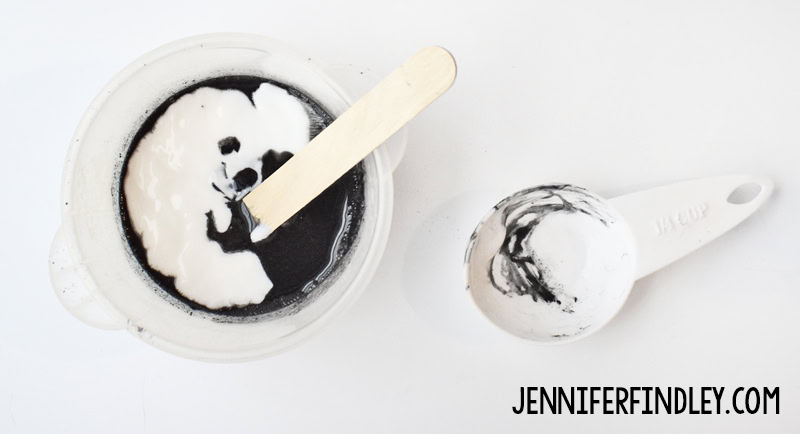
3. Carefully mix ¼ of a cup of white glue into the iron oxide/liquid starch mixture. Keep mixing until most of the liquid is absorbed.
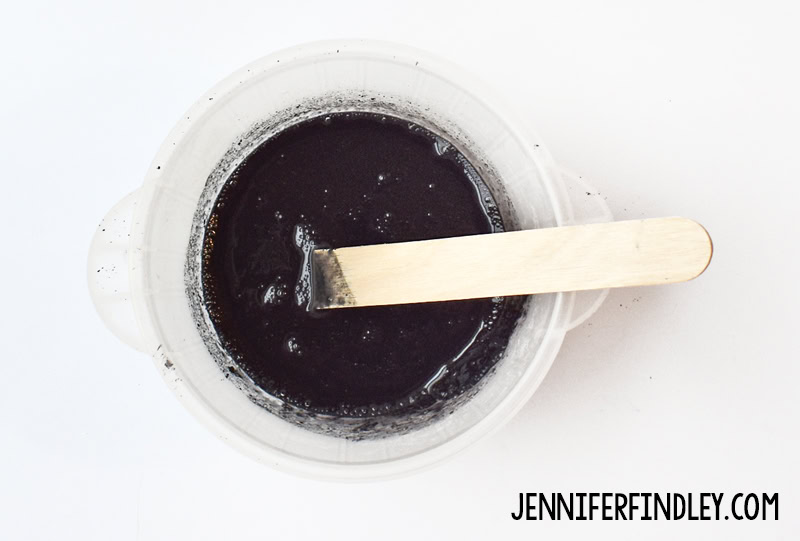
5. With your hands, thoroughly knead the slime for a couple of minutes. Pat it dry again. After it is fully dry, it will no longer be messy, and you can remove the gloves.
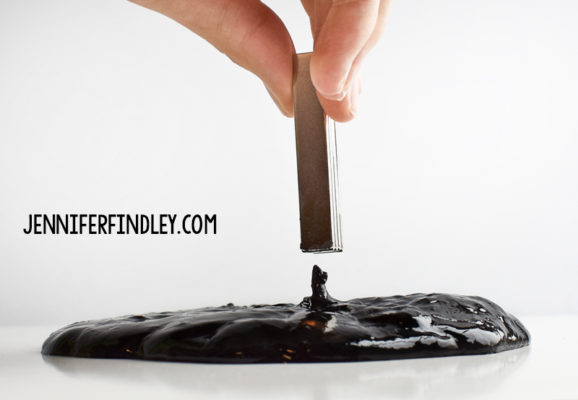
6. Have fun moving the slime around with the neodymium magnets.
The Science Behind the Magnetic Slime Science Activity
Neodymium magnets are the most powerful type of permanent magnet available for purchase. The liquid solution of starch and glue forms an elastic slime-like material. It prevents the little iron bits in the powder from leaving and attaching themselves to the magnet. Magnetism pulls the iron bits one way, while the cohesion within the slime pulls them in the other direction.
After the Experiment Reading Activity
Adding reading and writing to a science experiment, activity, or demonstration allows you to enhance your students’ understanding and get more mileage from the activity.
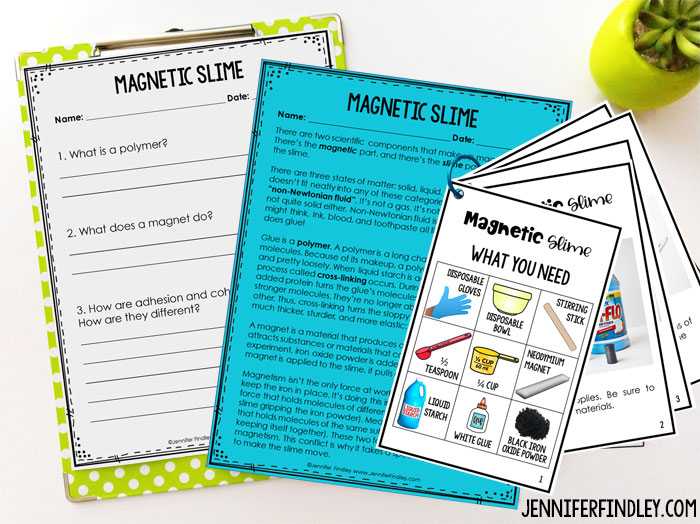
For this activity, the students will read a short text that describes the science behind it (similar to what is explained above for the teacher’s reference). The students will use the details they learned in the text to explain what happened during the science experiment. They will also answer three comprehension questions using details from the text.
The questions your students will answer include:
- What is a polymer?
- What does a magnet do?
- How are adhesion and cohesion the same? How are they different?
After reading the passage and answering the questions, you can invite your students to share their responses and have a classroom discussion about electrical currents.
How Can I Get the Free Printable Pack?
Click here or on the image below to download the magnetic slime science experiment printable pack.
If you want more resources and even freebies for science, click here to check out my other posts, such as apple oxidation, erosion with grass, dissolving Peeps, gingerbread cookies and candy hearts, creating avalanches and frost, states of matter with chocolate, experiments with growing plants and flowers (including a seed race), and much more.




Hi.
I am wondering if it means 4 1/2 Tablespoons instead of 4 Tablespoons?
Mine is giving off lots of black still.
Thanks.