Have you seen that popular meme where the student highlights two entire pages of a text? It cracks me up every time I see it. One reason that meme resonates with teachers is because it is a very real struggle. Each year, it seems I have some students who annotate like crazy. Or the opposite and the students don’t pick up a pencil or annotating tool the entire time they are reading. Thankfully, just as our students grow and learn in other areas, they can learn to be effective at annotating texts. This post will share specific annotating tips to use during close reading. Using these annotating tips will help your students make sense of a text, analyze a text, and reflect on the text (verbally and in writing).

General Annotating Vs. Specific Annotating
Before diving into the tips, let’s back up a little and discuss the two main types of annotating that my students do as they are reading.
General Annotating – This is the most common type of annotating that you see shared on blogs, articles, and Pinterest. This type of annotating is when the student reads the text with the purpose of simply understanding the gist of the topic or story. The students use general annotating symbols and directions that work with any text (making predictions, making connections, interesting facts, etc). This type of annotating works really well when the students are reading a text one time for a single purpose or during the initial read of a text.
Specific Annotating –When students complete this type of annotating, they have a specific purpose in mind and are looking for textual details, facts, and evidence that align with that purpose. As you can probably already tell, this type of annotating lends itself to close reading because each read of the text has a new purpose. It makes no sense to have the students use the same general annotation symbols and directions each time they read. Specific annotating also works well for literature circle discussions and literary analysis.
Some of the annotating tips I share will work well with both types of annotating and some work better for supporting students during specific annotating.
Teach Students the Purpose of Annotating
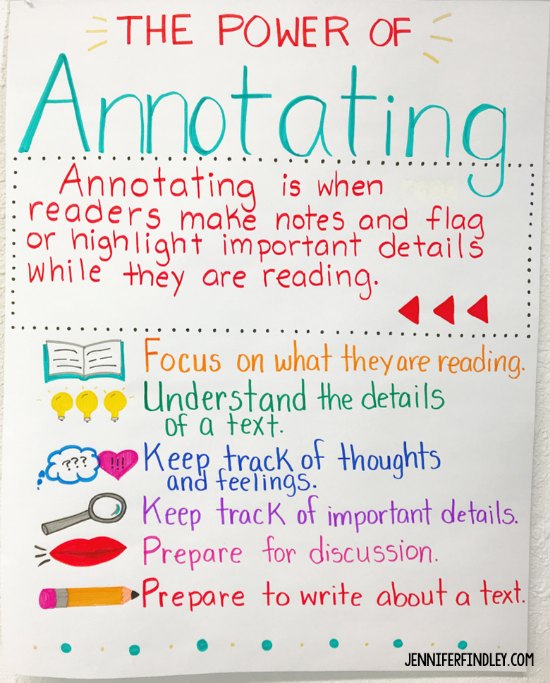
Before I even begin modeling and having my students practice annotating texts, we spend time discussing the purpose and benefits (or power) of annotating. We discuss what annotating is, how it looks, the tools that can be used, and how it helps the reader.
We discuss how annotating helps readers:
- focus on what they are reading
- understand details of a text, including complex or difficult to understand details
- keep track of their thoughts and feelings about a texts and its details
- keep track of important details
- prepare for discussion
- prepare to write about a text
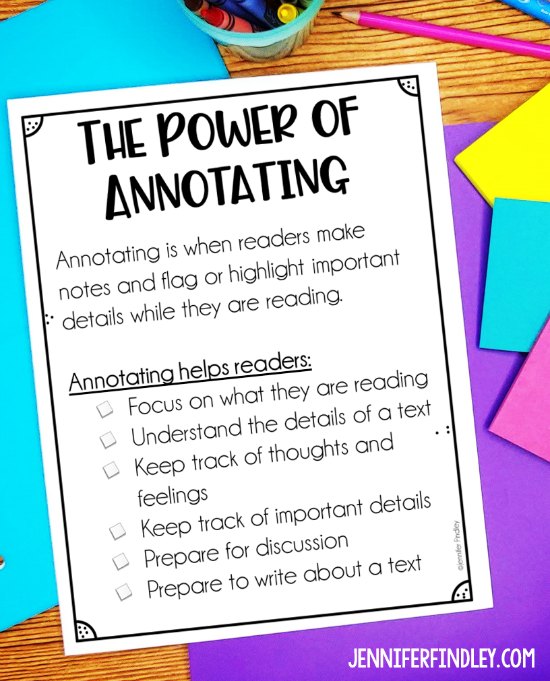
Click here or on the image below to grab a free printable that I use when introducing annotating.
Annotate Each Close Read with a Specific Purpose
Remember how we talked about the difference between general and specific annotating above? One of my best tips for annotating with close reading is to have the students annotate each read with a specific focus in mind. While they are reading, they should annotate specifically for details and textual evidence that will support their discussion or response to the focus prompt for that read.
For example, if the students are reading a text to zone in on how the author uses the character to develop the theme, the students should be annotating character details such as dialogue, action, and internal monologue that support the theme. Then, they will be able to use those annotations to respond to and discuss the focus.
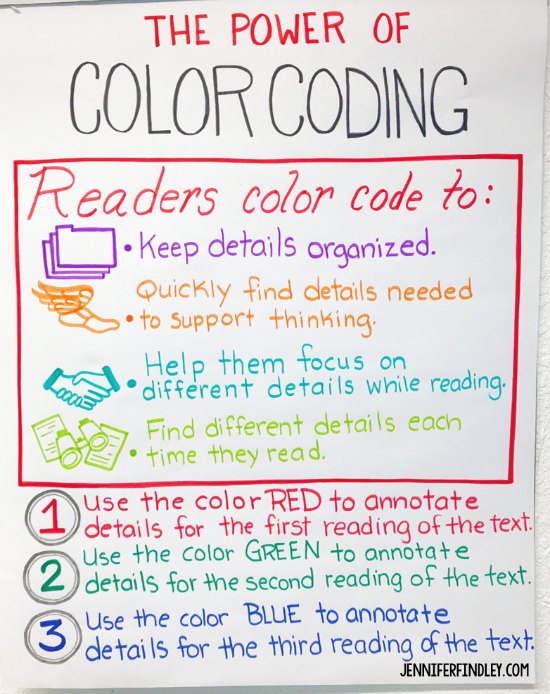
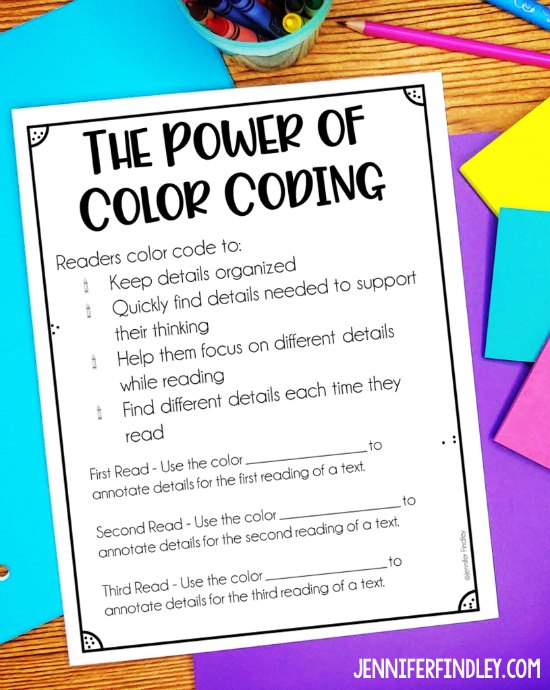
Color Code Each Annotation
Have the students use a different color for each read. This will help them organize their annotations and help with accountability. Students will be able to refer back to specific annotations to discuss and reflect on a text.
Model the Annotation Process
The first few times you do close reading strategies with your students, make sure you model how to appropriately annotate a text. To do this, I recommend using a common text either projected on a whiteboard, blown up in a poster size, or use a text specifically created for modeling.
Here are the steps I follow when preparing to model how to annotate:
- Prepare my materials – The materials I use are an engaging text broken up into paragraphs (two copies-one to use prior to the lesson one to use during the lesson), a focus prompt or question, and an annotating tool (this can be as simple as a pencil)
- Preread the text – Read the text prior to instruction and annotate it with the focus prompt in mind. Doing this beforehand will allow you to ensure the focus prompt/question is a good fit for the text and that you have a variety of details to annotate.
And here is what I do to actually model the annotation process with my students:
- Introduce the text and focus prompt/question to the students. I explain that I will be reading this text with a specific focus in mind. While I am reading the text, I will annotate details that will show my understanding of the text and the focus prompt/question. I also explain that the annotations I choose will help me discuss the prompt/question.
- Read through the text, section by section. After reading a sentence or section, stop and do regular think alouds. I do two different types of think alouds:
- Stop and Annotate – When I get to an obvious detail, I will pause my reading and explain to the students that I am annotating this detail and why.
- Stop, Reflect, and Then Annotate – I also model how to stop, reflect, and annotate after reading a section of text. To do this, I read a paragraph and then stop and think aloud about what details I can annotate that match my focus question. I invite the students to help me find details as well.
- When I am done reading and annotating the text, I will show the students how to use the annotations to discuss the focus prompt or questions. I do this simply by referring to the annotations (by pointing and using the same words) as I discuss the text.
Model How to Use Annotations
In addition to modeling how to annotate a text with specific purposes, make sure you explicitly model how to use the annotations to support written and verbal discussion of the text. This will help your students see the purpose behind annotating and help them find greater success with this important strategy.
After modeling how to annotate a text (using the steps outlined in the above section), I follow up with a lesson on how to use those annotations to discuss and write about the text. I model how to discuss the text using the annotations the same day that I model how to annotate. Then, we come back together the next day and I explicitly model how to use those annotations in writing.
I know this may sound challenging but it is super easy. All you do is review your annotations, restate the focus prompt, answer the prompt, and then provide details from the text (your annotations) to support your answer. As I do this, I actually point to the details that I annotated to show the students the connection between what I annotated and my response to the text.
Annotating can be a very powerful tool for readers for many reasons. I hope these tips help you and your students. Do you have any annotating tips that work well for your readers? Let us know in the comments!


Im trying to buy this. I don’t see anything where I can buy this.