Google Forms are a great option for having your students practice skills digitally. They allow for self-grading AND you have the option to release student scores after each student submits their answers. The students love that instant feedback. But most Google Forms are not the most exciting or engaging practice opportunities (unless you add in those elements). One way to add in some student buy-in is through digital progress trackers to track progress or completion.
This post shares free digital progress trackers that are created in Google Slides that work with any Google Form practice you assign your students.
![]()
About the Digital Progress Trackers
The digital progress trackers are a super simple (but motivating) way to track your students’ progress with Google Forms.
The students “earn” digital stars for each skill they satisfactorily complete (based on your requirements and you can differentiate this by students).
Here is how the trackers work:
1. Each student will have an assigned number. If their number is visible, they still need to complete that particular skill. If their number is covered by a sticker, they have completed the skill.
2. An editable text box is included for you to write the skill that slide is tracking. Replace “Skill Here” with the skill matching the assigned Google Form.
3. Multi-colored stickers are available to drag and drop in each student’s space on the table.
You have a lot of creative freedom as the teacher to make these work for your students. Here are some things to consider:
- You can differentiate the level of mastery needed to get a star. For example, some students may be able to earn a sticker for a lower percentage.
- You can use these to further motivate your students with whole-class or individual incentives. For example, when all (or a %) of students have completed a skill practice set, you can offer a reward for the class, such as playing Kahoot to review in a high engaging way.
There are two versions of the digital trackers. Choose the one that best fits your needs. The only difference between the two versions are the tables and quantity of student numbers included.
Version 1 – Done For You – 30 Spaces
This version has 30 spaces available and the table is not editable.
Version 2 – Editable Table
This version has an editable table available. You may edit the table to match your class size. It includes 25 spaces, but you can add or delete as needed.
Using the Digital Progress Trackers in Google Classroom
1. Decide how many digital progress trackers you want to “display” at a time. Do you want to post the trackers for the week, for the month, for the entire unit? It is really up to you how you do it.
2. Complete the Student Numbers table so each student is assigned a number. (If you are concerned about students seeing each others’ progress, you can use this for your information and send each student their numbers separately).
3. Follow the directions included to type the name of the skills on each progress tracker that you to plan to display. Delete any slides you don’t plan to use.
4. Post as Material in Google Classroom (following the steps shown below). The students will not be able to manipulate the stickers if you do this type of assignment. They will still be able to see any updates you make (such as adding the digital stickers to show progress).
5. As your students show progress, move the digital stickers to cover their numbers. Make sure you are working in the same file that you assigned your students.
Here is a step-by-step image to help you assign these in Google Classroom. Click the image to make it larger.
Grab the FREE Digital Progress Trackers HERE!
Want Ready-to-Assign Google Forms?
If you love using Google Forms, but don’t love creating them and setting them up for easy self-grading, I have just what you need!
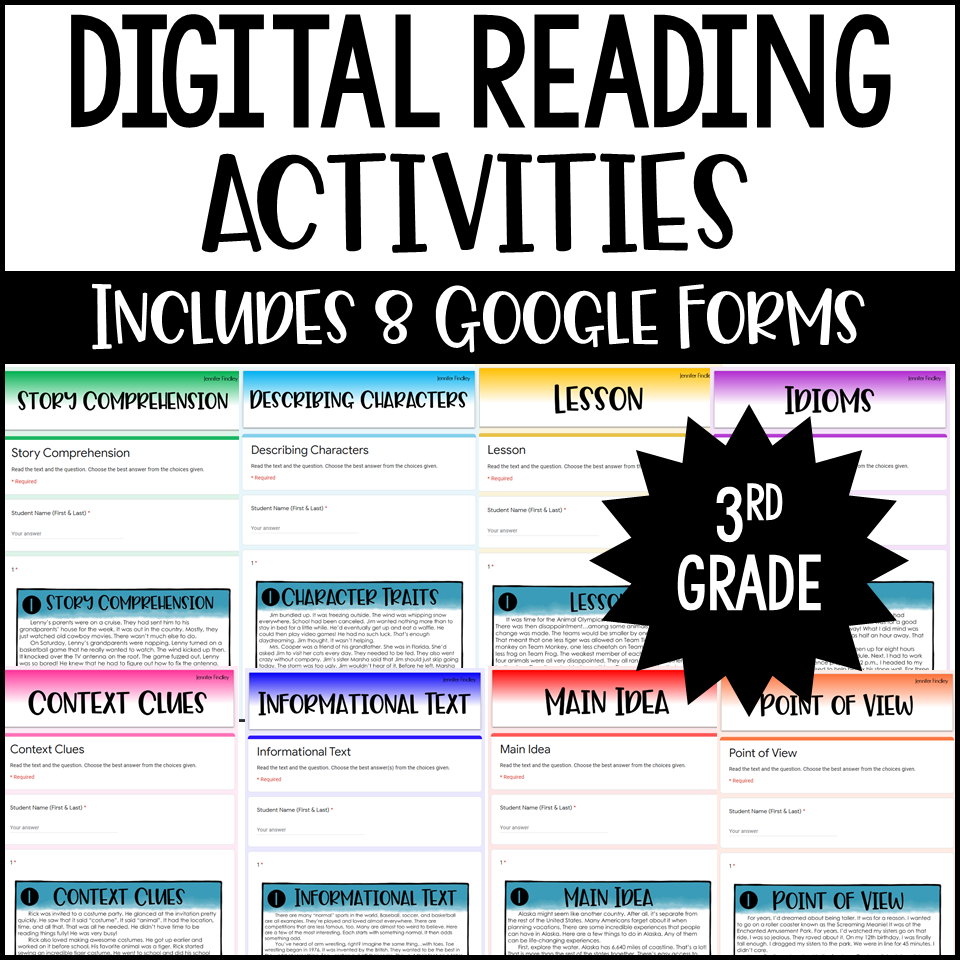
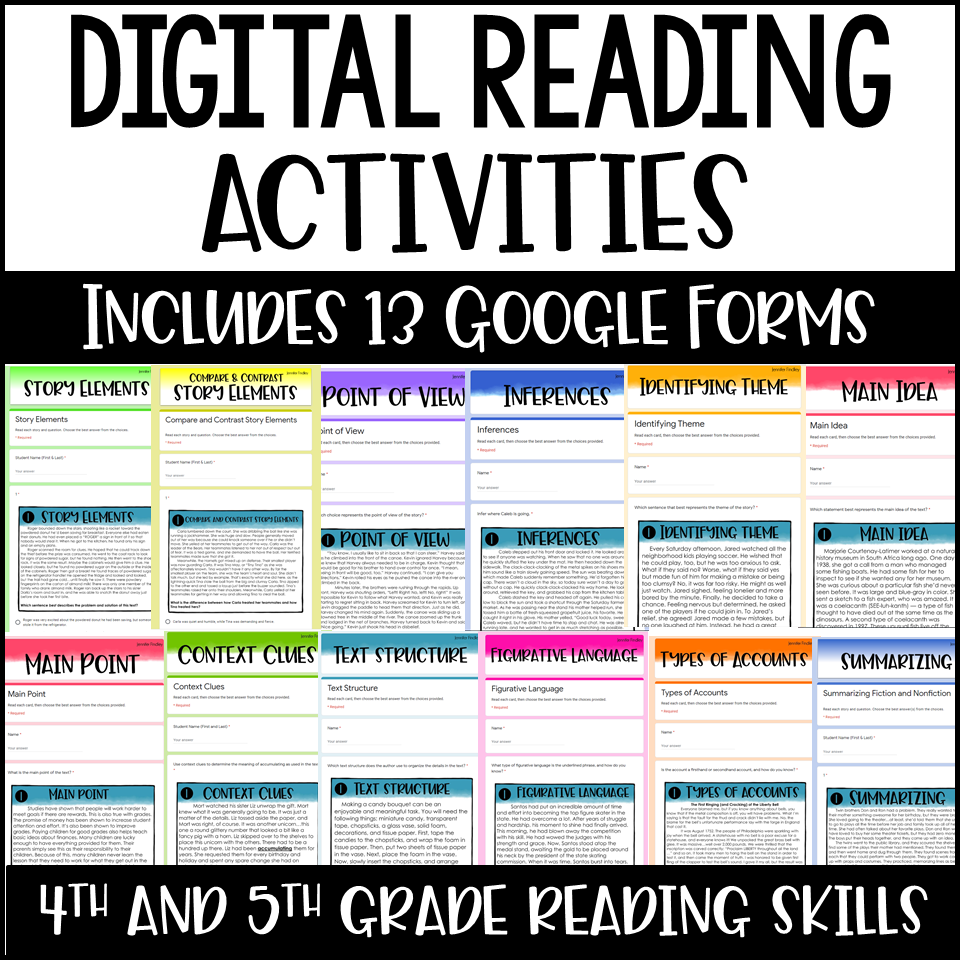
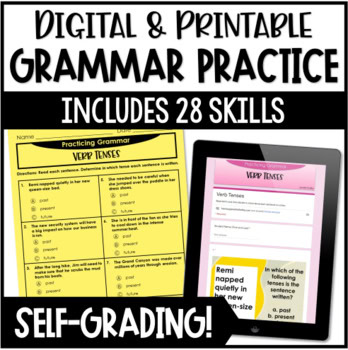
Check out these ready-to-assign Google Forms for math and literacy.
All of the work has been done for you and they are ready for you to copy to your drive and assign your students!
Shop This Post
Shop This Post




Leave a Comment