If you’ve ever felt frustrated by students freezing up on constructed response questions, you’re not alone. This is a common challenge among teachers at seemingly every grade level.
But here’s the thing: constructed responses are where students get to show real understanding. This step-by-step guide will make the process clear, doable, and meaningful for both you and your students.
DISCLAIMER: Focus on Process Over Content
Before diving into each step, start by choosing questions that let students practice the process of constructing responses without getting bogged down by challenging content (i.e the skills required to answer the questions).
Think of this as building a foundation: students should first become comfortable with the structure and format of their responses, so they don’t get overwhelmed by tough concepts like theme or main idea right away.
When students aren’t struggling with high-level content, they’re free to focus on organizing their ideas, restating the question, and structuring their answer.
Once they’re confident in the process, they’ll be ready to apply these skills to rigorous questions—knowing exactly how to tackle each part of the response with ease.
How to Do It:
- Begin with simple questions that require basic skills—like questions on inference or cause and effect—so they can fully focus on the response steps without added content pressure.
Step-by-Step Guide to Teaching Constructed Response Questions
Step 1: Explain the Purpose
Start by explaining the difference between constructed response and multiple-choice questions to your students.
Discuss how multiple-choice questions give answer options, while constructed responses require them to explain their thinking and show their understanding all on their own.
Tell students that constructed responses are like explaining a decision to a friend or supporting their opinion in a group project. This helps them connect the skill to situations outside of school, so it feels more relatable and meaningful.
Note: Use this step to build buy-in with students so they understand the purpose and value of these questions.
Step 2: Guide Students Through an Example Response
For this step present an example of a constructed response question and an answer that matches your students’ skill level while offering a slight challenge to stretch their thinking.
Choose a response that’s within reach, so students feel confident but also see the level of detail required.
After showing the example, discuss what they notice about it and guide them to identify key parts of the response. Even if they don’t label them correctly, you are using this as a discovery approach to engage them in the acronym or framework you teach.
Step 3: Introduce a Helpful Acronym & Connect to Example Response
Once students have seen the example, introduce an acronym (such as RACE) that will give them a structured approach to answering these questions.
Explain that this acronym will act like a checklist to guide them through writing a well-organized response.
Provide a high-level overview of each part of the acronym, briefly touching on each step (for example, Restate, Answer, Cite evidence, Explain) and connecting it back to the example they just reviewed.
Let students know that the acronym is just a starting point, and they’ll have plenty of practice before you expect them to use it fully.
Note: You’re not expecting them to master it yet; this is just an introduction to the structure.
Step 4: Explicitly Teach, Model, and Practice Each Step of the Acronym
Go through each part of the acronym, teaching, modeling, and letting students practice each step independently.
For example, begin with “Restate the Question”, then move on to “Answer the Question.” I prefer to ensure these two steps are mastered as best as they can before diving into the evidence writing.
Some students may need extra time on certain steps, so use this time to check in and see which parts are the most challenging (you may be surprised how tricky restating the question can be for students).
REMINDER: Focus on teaching them the strategy of answering constructed response questions, not specific content skills. For example, you don’t need to pull in content-heavy skills like theme or main idea; instead, choose practice opportunities that allow them to focus on the structure itself, such as simple inference questions. This helps them focus on the response process without the added challenge of high-level content skills.
Step 5: Have Students Put It All Together
Once you’ve taught, modeled, and practiced each part of the acronym and you feel confident that students understand each step, have students begin combining them with your feedback and any necessary scaffolding.
Remember, avoid jumping to a full constructed response too soon—students need to feel confident with each part before pulling it all together.
For me, I liked to ensure students had mastered restating and answering before attempting text evidence (other than verbal discussions or underlining it).
Remember, this isn’t a linear process, and it will vary for each class. Some students may need extra practice with specific parts, like restating the question or finding evidence. Be prepared to pause and give targeted practice where needed, possibly pulling small groups to work on specific skills.
Step 6: Shift Toward Student Independence
As students are ready, gradually increase the level of practice and decrease the amount of support you’re providing. Shift from direct feedback and teacher support to tools like checklists for self-checking and accountability.
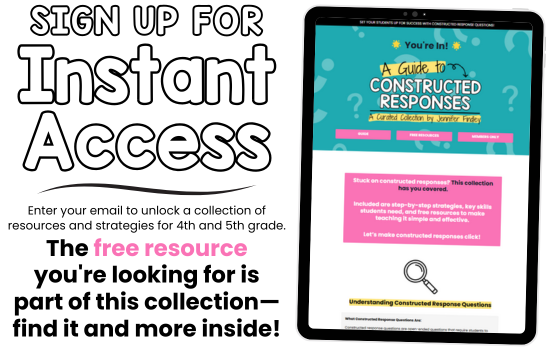
For access to my FREE constructed response collection, click on the image below. You will be taken to a webpage where you can enter your email to unlock access to the resources. The collection includes the freebie shown in this blog post, along with other resources for teaching and practicing constructed responses in 4th and 5th grade.
Teaching constructed response questions step-by-step makes all the difference. With each skill they master, students are not only becoming stronger writers but are also learning how to think through and support their ideas—a skill that will serve them well beyond the classroom.


Leave a Comment