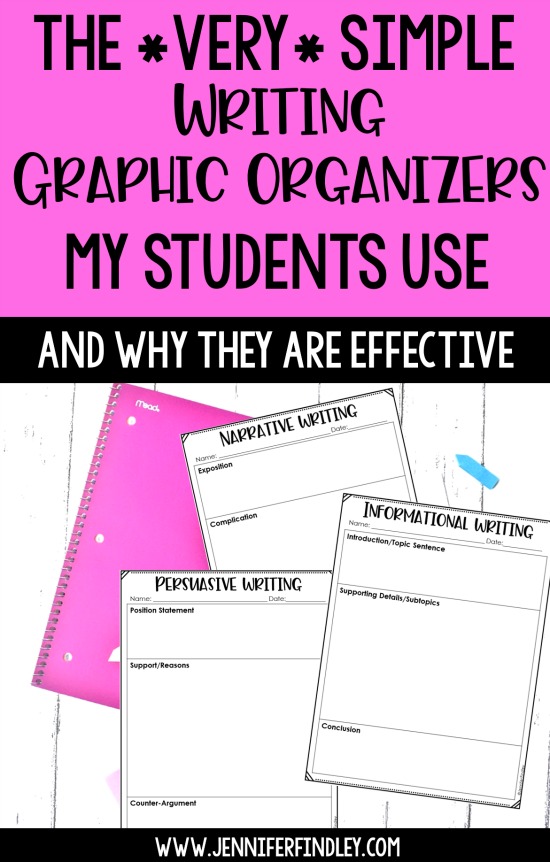
I never realized I had a strong opinion of the writing graphic organizers I exposed my students to until a few years ago when I worked closely with other teachers (I worked as an ESOL teacher who supported the students in writing). Each writing prompt the students were given had its own specific (and very cute) graphic organizer to go with it. The problem was that the graphic organizers were super specific to the prompt and not transferrable. On this post, I want to share the very generic and basic writing graphic organizers I use and why I prefer this over prompt-specific organizers.
Why Generic Writing Graphic Organizers?
First let me define what I mean by generic.
In this case, generic means the graphic organizer can be used to plan any prompt or any writing in that genre. The graphic organizers are in no way specific to the prompt or topic.
Why do I use generic writing graphic organizers?
Using generic graphic organizer that are not prompt-specific allow students to connect the organizer with the genre of writing, the characteristics and features of that genre, and how to best develop a topic in that genre.
Using generic graphic organizers that focus on the genre (versus the prompt or topic) will help the students understand and remember the genres of writing and what aspects of each genre are effective and interesting to readers.
By using generic (non prompt-specific) writing graphic organizers, the students are using the same organizer over and over for the same genre (modifying it to fit their specific needs as a writer).
Why Basic Writing Graphic Organizers?
Now that I have explained my take on how writing graphic organizers should be generic and not prompt-specific, let’s dive into the next characteristic— the writing organizers your students use on a regular basis should be basic. Here’s why:
Students should be able to easily create or recreate the organizer themselves. They should not be dependent on being given a specific graphic organizer. Students should also be able to modify and add to an organizer as needed based on the prompt/topic/task (and feel confident doing so).
For this reason, my writing graphic organizers are not complex and they are not pretty. However, they are easily recreated and modified by the students. The students are able to take ownership of the brainstorming and organization process and make it their own.
Using the Graphic Organizers
I do provide copies of the graphic organizers for the first two writings in a genre and we discuss the organizer in detail and how it relates back to the genre. Because we usually go through one complete writing of a genre together, the first graphic organizer also serves as a guide or model for students.
When students begin new essays, they sketch the organizer in their notebook by drawing three boxes, labeling each one (or not- I really leave this up to the students), and jotting down their ideas.
This is highly transferrable to any writing situation. Since students are used to creating (and modifying as needed) their own organizers, they are much more likely to plan and brainstorm for writing situations that are not teacher-supported or driven—state tests for example.
About the Writing Graphic Organizers
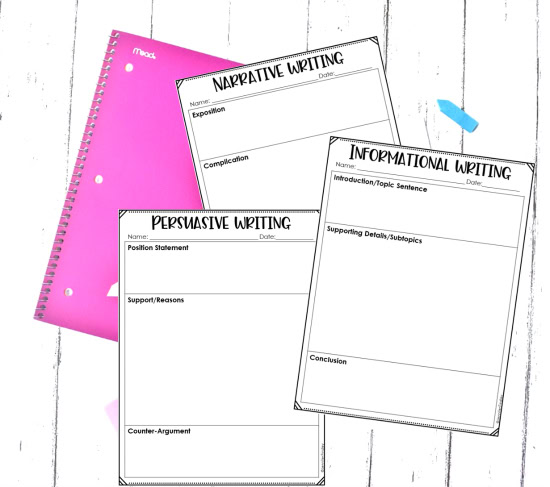
Each of my organizers have three boxes. This is intentional. I want my students to see the connections between the genres and that each one has an introduction, body, and conclusion – though the purposes and details included vary from genre to genre.
I am going to share the details based on how I usually have my students complete the organizers. This does vary from year to year based on writing expectations from the state standards or test, the needs of my students, and what resonates best with them as writers.
The best part about using these generic, simple graphic organizers is their flexibility.
Narrative Writing Organizer
I have included a few different varieties of organizers. Most often, I use the beginning, middle, and end organizer with 3rd graders and introduction, middle, and conclusion with 4th and 5th graders.
In the introduction, students plan how they will hook the reader into their story and get them interested.
In the body section, the students may plan out the main events, challenges, problems, attempted solutions, or final solutions. What all goes in this section depends on what the students plan to write.
For the conclusion, the students plan how they will leave the writer. Will they offer advice, will they directly state a lesson, will they end it with humor or a reflection, etc?
Persuasive/Opinion Writing Organizer
Again, this organizer has three main sections. These vary based on which organizer you choose, but I typically use the one labeled Position Statement, Support/Reasons, and Conclusion.
Position Statement – This is the “topic sentence” of their persuasive writing. They clearly plan out exactly how they will state their positions or claims in this section (without going into the reasons yet). We talk about how this is also part of the introduction (connecting it back to narrative writing so they can see the connections).
Support/Reasons – In this section, students can brainstorm all of the reasons, evidence, and details to support only their specific positions in this section.
OR
Students can create a T-chart and brainstorm reasons to support both their positions and the counter-positions. This is helpful for students who don’t have a strong opinion or position yet and need help deciding.
Conclusion – For the conclusion, the students often select a common or popular reason that supports the opposite of their positions to “counter.” They may also offer advice or pose questions back to the reader to get them to reflect on the topic of the essay.
Informational Writing Organizer
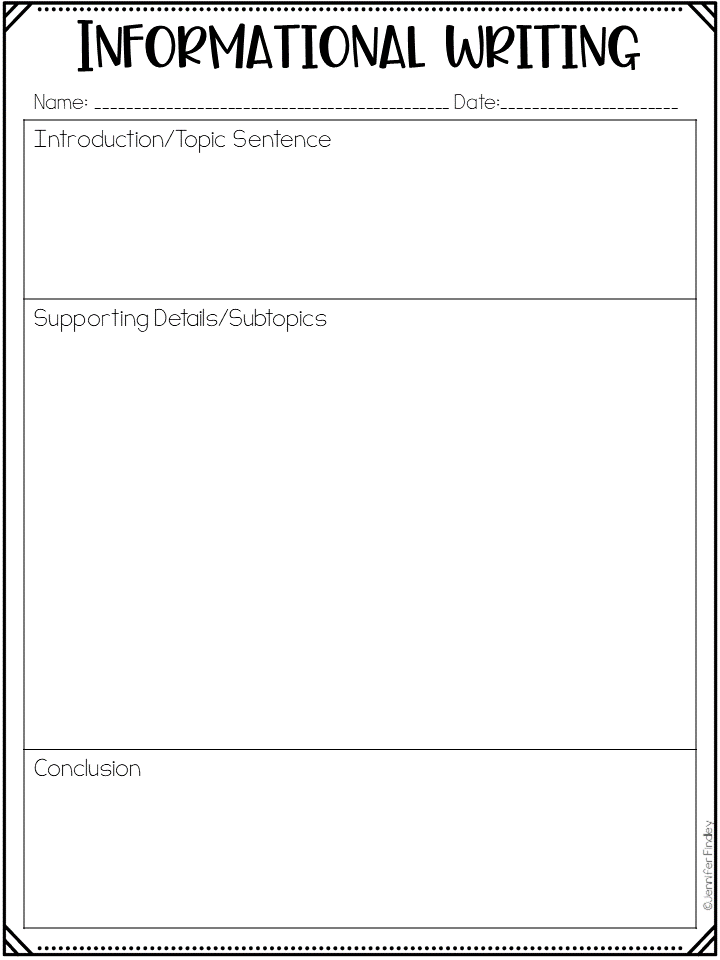
And finally, our informational writing organizer also has (you guessed it) three boxes. I typically use the ones labeled introduction, supporting details, and conclusion.
For the supporting details section, my students typically further organize this section depending on the topic and structure of the writing.
- Description – bubble map
- Compare and Contrast – venn diagram
- Chronological Order – ordered list
- Problem and Solution – varies depending on if the focus is on the problem or ways to solve the problem
- Cause and Effect – sequence of event diagram that shows causes and effects of events
What About Students Who Need More Support?
One of the best parts (in my opinion) of these simple graphic organizers it that you can easily modify them to add a little or a lot of support as needed.
Here are some ways I have modified the simple graphic organizers for students who really need it:
- Add in a few questions to help guide them or to help them reflect (Examples: What will the main event in your story be? What will happen next?)
- Add in a few numbered or bulleted blank lists. (Example: In the support section of the persuasive writing organizer, I may add three bullets to help remind them that they need three strong reasons. I may even go further and add two smaller bullets under each bullet to show that they need two examples to support each reason.
- Provide a completed example for the students to use as a model. As I mentioned earlier, we complete the organizer together for our first essay in a new genre. This organizer typically becomes the model the students can refer back to. I may also provide other models as needed.
Download FREE Writing Graphic Organizers
*****Are you sold yet on using generic, basic graphic organizers? If so, click here or on the image below to download the writing graphic organizers I use (with a few versions for the narrative organizer and a few notes added to the persuasive and informational organizers).
More Helpful Writing Articles and Resources
How I Teach Writing in 5th Grade
How to Get Students Excited about Writing
FREE Persuasive Writing Prompts
Creating Writing Portfolios (Free Forms)




I can’t begin to thank you enough!!! You are very generous and thoughtful to offer these graphic organizers for free…FREE!!!! A true rare treasure these days!!!
Bless you!!!!!
Thank you for this Freebie! What a wonderful find, just what I was looking for. I was wondering if I could use this in my distance learning lesson? The students would have to log on to Seesaw to access it and fill it out.
Thank you so much for the graphic organizers. They are going to be very useful.