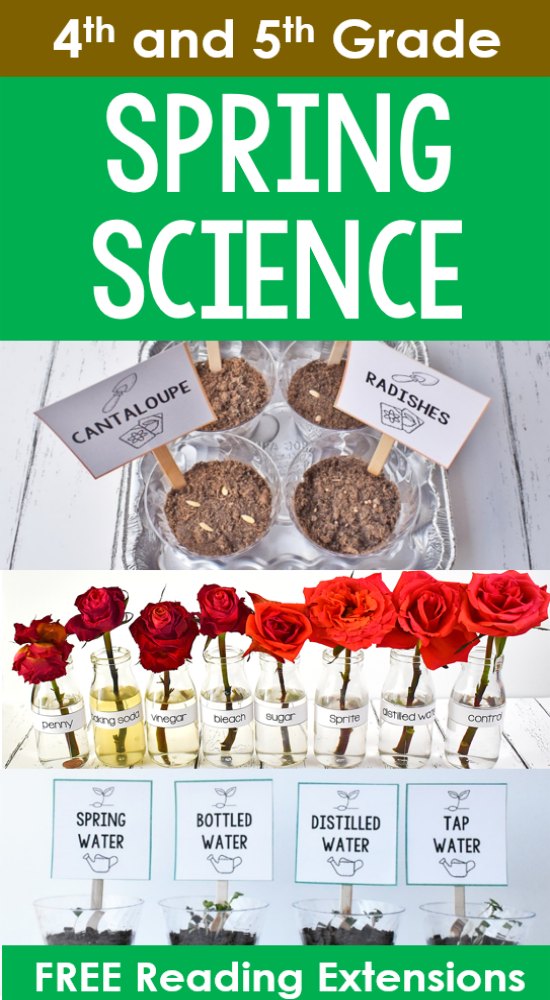
Spring is one of my favorite seasons in and out of the classroom. I love incorporating and celebrating the season in the classroom with spring science experiments. Implementing more science experiments during this time of the year keeps my students engaged and motivated. To keep us learning and preparing for upcoming tests, I created reading extensions to supplement and enhance each experiment. These not only make the science experiment more rigorous but also shows the importance of reading for information in the content areas.
Keep reading to learn about three of my go-to science experiments for spring and grab all of the printables and reading activities I use for FREE!
Note: Materials and directions are included on this post so you can decide if the experiment is right for your class and students before printing the free printables. I have also included the materials and directions in the free download for your convenience.
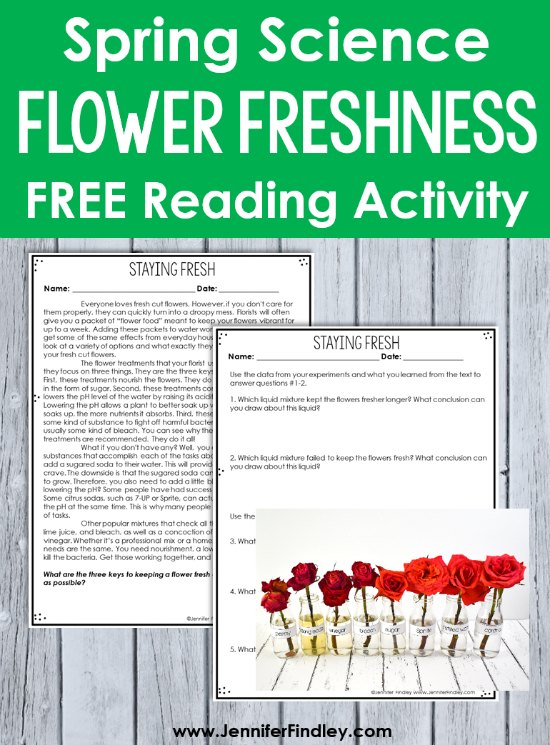
Spring Science Experiment #1: Fresh Cut Flowers
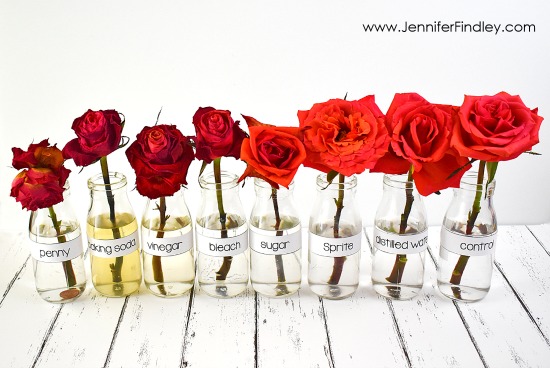
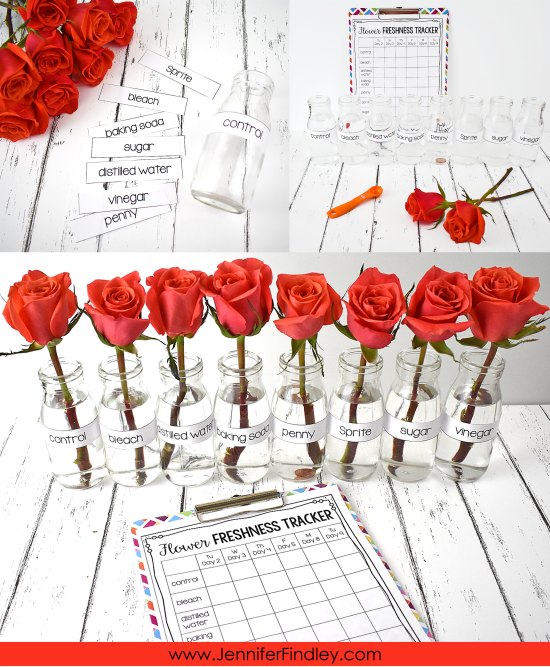
For this spring science experiment, the students will learn what it takes to keep fresh cut flowers fresh (from the free reading passage included in the download) and then test out what they have learned. The best part about this science experiment is that the questions require the students to use the experiment and details from the reading passage to interpret the results and answer the questions.
Materials:
• Labels and tape
• 8 clear bottles, jars, or glasses
• 8 fresh-cut flowers
• tap water
• distilled water
• Sprite
• 2 tablespoons each of: baking soda, bleach, sugar, and vinegar
• a penny
Directions:
1. Make a hypothesis that answers this question: In which liquid do you think the flowers will remain the freshest?
2. Prep the flowers by trimming the stems so that they will easily fit into their clear containers.
3. Cut out the labels for the clear containers.
4. Fill one container with Sprite and attach the, Sprite label. Then fill one container with distilled water, and attach the distilled water label
5. Fill the other six containers with tap water.
6. Attach the control label to one of the containers with tap water.
7. Add the following to the remaining five containers, and attach the labels:
2 T baking soda
2 T bleach
2 T sugar
2 T vinegar
a penny
8. Each day for nine days, record the results on the flower freshness tracker.
Keeping the Flowers Fresh Reading Extension and FREE Printables:
Spring Science Experiment #2: Seed Race
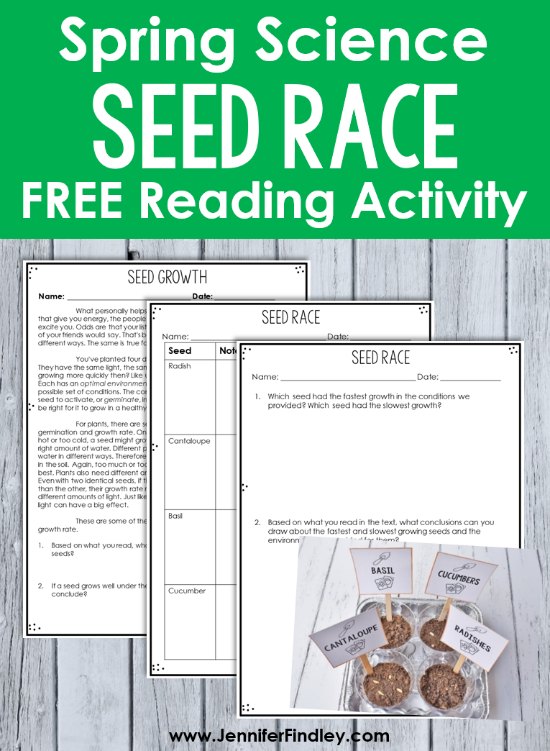
Students are naturally curious, including 4th and 5th graders. Having a seed race is a fun way to get students excited to check in each day and see the plants grow. I like to pair this science experiment with a text about optimal environments that allow some seeds to thrive and others not to. This is a good experiment for drawing conclusions based on available data.
From this science experiment also stems many others as we use brainstorm ways that we can adapt, modify, or completely change the experiment to further test how different seeds react to the same conditions or how the same seed reacts to different conditions. In fact, a follow up activity (included in the free download) involves the students using the results from the experiment and what they learned from the text to plan a new science experiment focusing only one of the seeds from the original experiment.
Materials:
• Clear plastic cups
• Potting soil
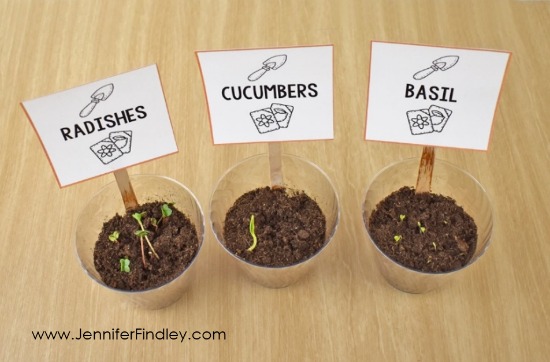
• Seeds – we used three quick sprouting seeds (radish, cantaloupe, and basil) and also cucumber
• Drill or Dremel
• Wooden craft sticks
• Tape
• Printable cards
• Aluminum foil pan or tray
• Water
Directions:
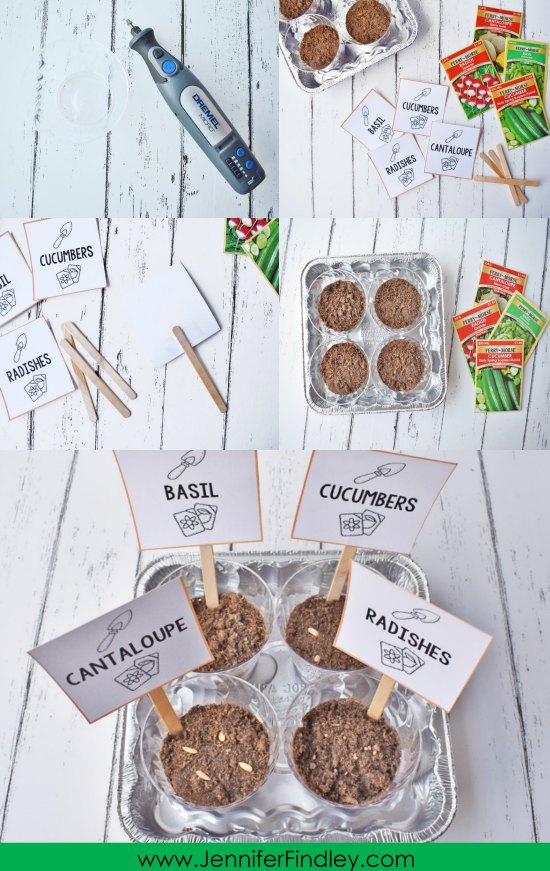
1. Prepare your markers by taping each card to a wooden craft stick.
2. Poke one small hole in the bottom of each cup to provide drainage. (I used a Dremel tool for this.)
3. Place the cups into a tray. An aluminum foil pan works great for this.
4. Fill each cup with potting soil to within 1/2 inch of the rim.
5. Place a wooden craft stick marker into each cup.
6. Add a few seeds into each cup, but make sure you add them into the correct cup with the proper marker.
7. Top the seeds with 1/4 inch of soil.
8. Lightly water the soil. Make sure you measure the water so you ensure each seed gets the same amount.
9. Set the tray in a sunny location and check back in a few days. When the soil begins to feel dry, lightly water it again., again ensuring that each seed gets the same amount of water each time.
Seed Race Reading Extension and FREE Printables:
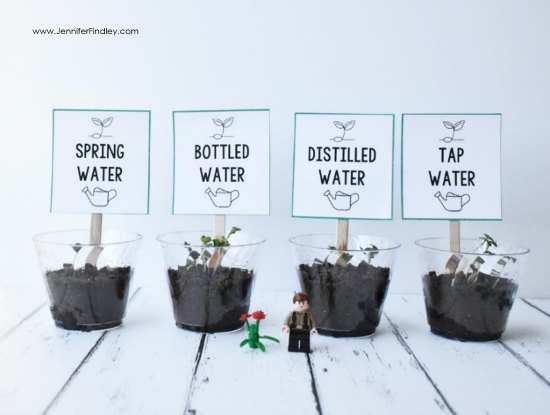
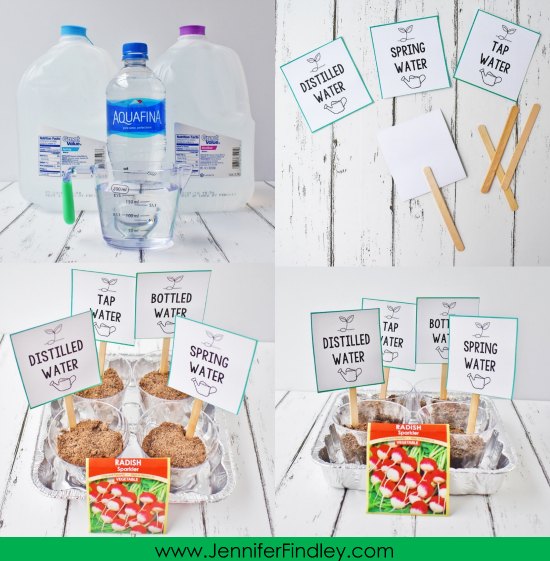
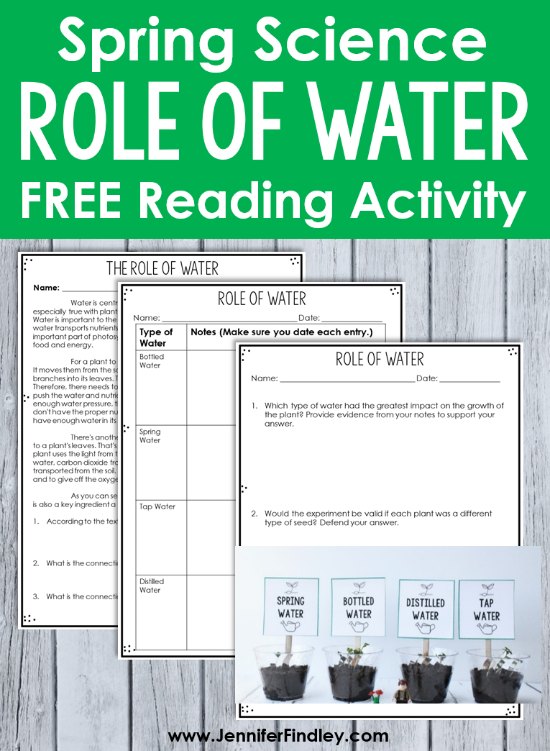
Spring Science Experiment #3: What Types of Water Do Plants Grow Best In?
Materials:
• Clear plastic cups
• Potting soil
• Seeds – we used radish seeds because they sprout quickly
• Drill or Dremel
• Wooden craft sticks
• Tape
• Printable cards
• Aluminum foil pan or tray
• Bottled water
• Spring water
• Tap water
• Distilled water
Directions:
1. Prepare your markers by taping each card to a wooden craft stick.
2. Poke one small hole in the bottom of each cup to provide drainage. (I used a Dremel tool for this.)
3. Place the cups into a tray. An aluminum foil pan works great for this.
4. Fill each cup with potting soil to within 1/2 inch of the rim.
5. Add a few seeds into each cup and top with 1/4 inch of soil
6. Place a wooden craft stick marker into each cup and then lightly water the soil with the correct type water (ensuring each gets the exact same amount of water).
7. Set the tray in a sunny location and check back in a few days. (Radish seeds usually sprout within five days.)
8. When the soil begins to feel dry, lightly water it again (ensuring each gets the exact same amount of water).


Thank you for sharing such an amazing article I really like it keep sharing nice work.
Teacher Collaboration
Thanks
Thank you so much for this activity! It is perfect for this week’s science. I appreciate your generosity. It may be obvious but in the flower experiment how much water do we put in the container and is “T” tablespoon or teaspoon?
Yes, tablespoon. 🙂